Top 10 Best Out of Waste Ideas for Kids In 2022
Updated: Apr 14, 2022, 17:09 IST

Nowadays Children miss out on crafting new things and exploring. They may not give time to creating Best out of waste crafts. Therefore, it becomes vital to connect arts and crafts in children at a younger age. The importance of this will be they will learn new skills and help save the environment by utilizing the waste material and creating something the best out of waste.
Top 10 Best Out of Waste Ideas for Kids
1. Painted Glass Bottle
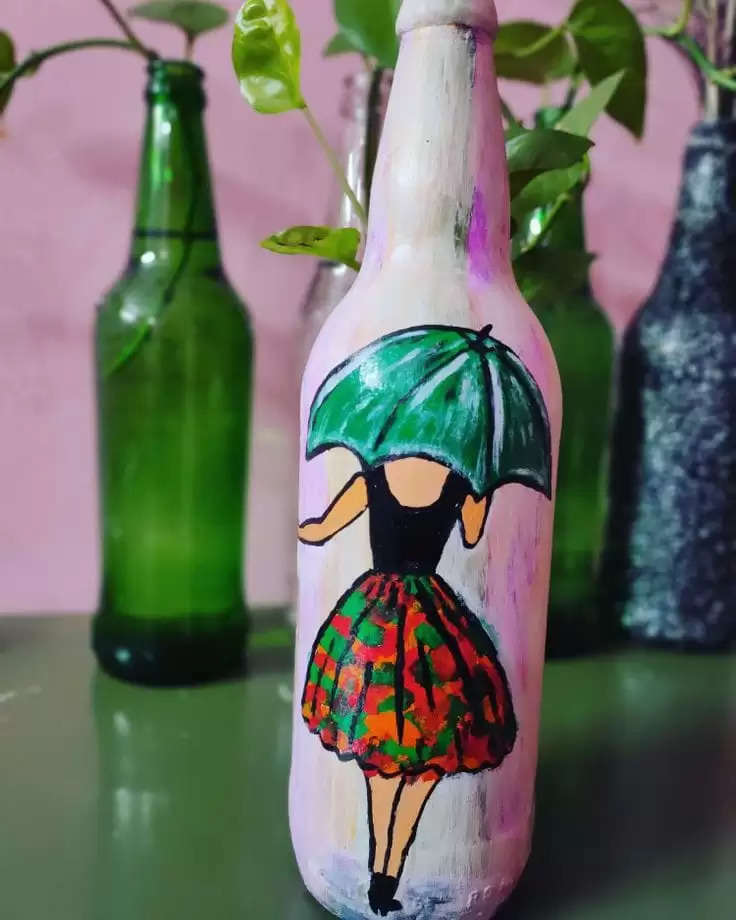
Items:
- Any well-shaped bottle
- Syringes
- Paints based on oil
Steps:
- Kids can perform this task, make sure they wear clothes that are not used.
- Wash the bottle from inside as well as from the outside, let the bottle dry.
- Take the syringe and pack it with paint and press it into bottles, shake the bottle well so that it reaches every corner.
- When the color has covered every corner of the bottle place in Cover at 302 degrees Fahrenheit for approximately 35-40 minutes.
2. Popsicle Photo Frame
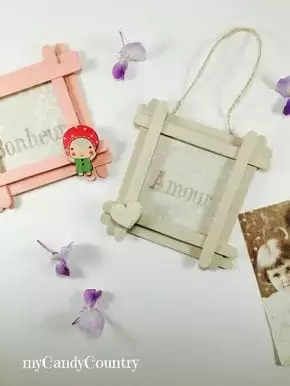
Items:
- 9 *12 white papers
- 8 popsicle sticks
- Scissors
- Glue gun
- Paint
- Crayons
Steps:
- Color the popsicle sticks in different colors of your choice.
- Use two popsicles for both sides.
- You can either draw or attach a picture of their choice on white paper.
- Glue the popsicle sticks in a square. It will create the frame.
3. Shoebox for Storage
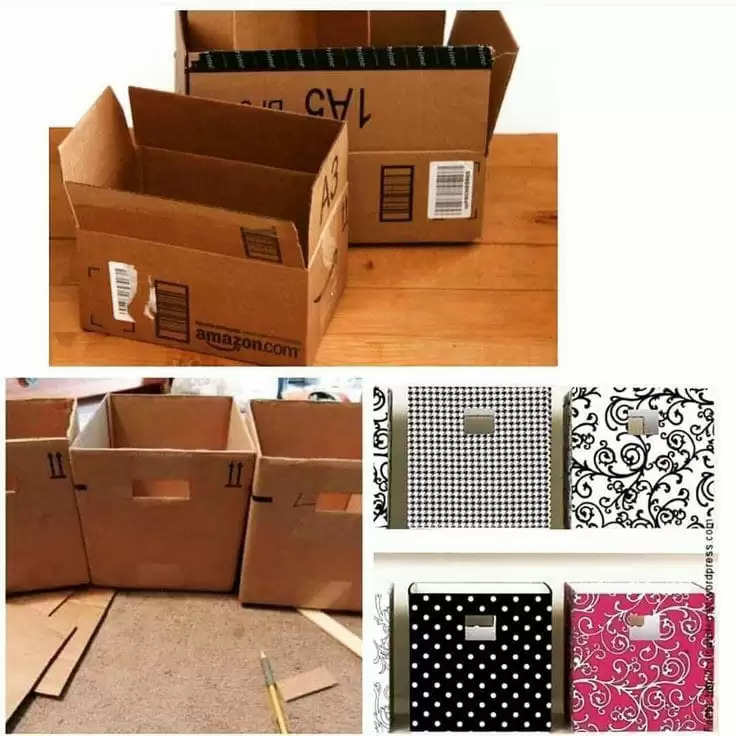
Items:
- Shoebox
- Tape
- Marker
- Cartoons from the newspaper/articles
- Glue
- Scissors
Steps:
- Cover the box with the cutting of comics from the newspaper/article.
- Seal the box with Tape from inside.
- Try to create an attractive image of the cutting at the top of the box to create some beautiful effects.
- Take a soda can and crush it and make it flat.
- Place the flattened soda can at the top of the box and write whatever you want, and it's done.
4. Sock Puppets
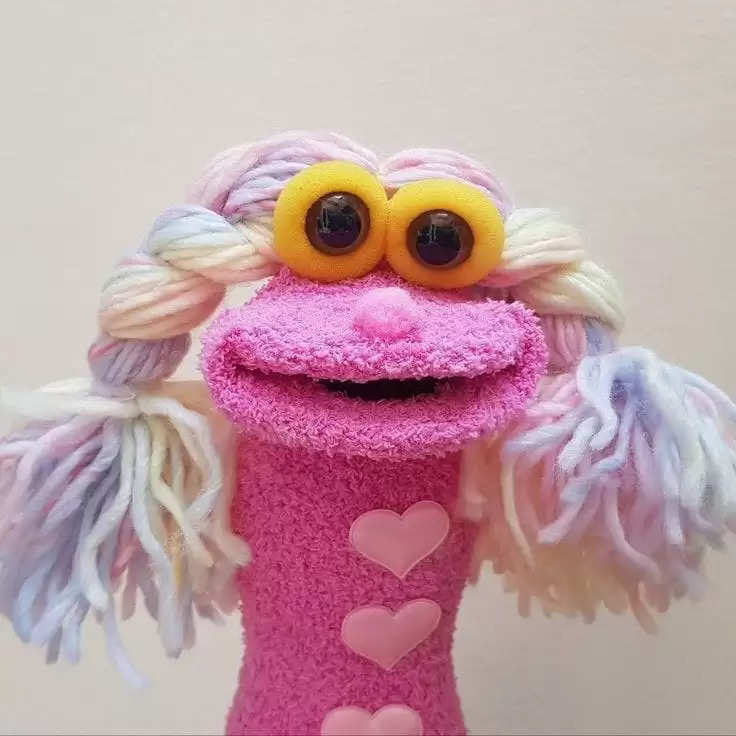
Items:
- 2 Socks
- Buttons
- Wool
- Black thread
- Wool needles
- Sewing needles
- Scissors
Steps:
- Wash the socks.
- Sew the buttons on the sock.
- Cut 12 pieces, 6-inch strips of wool for the hair of the sock puppets. You can make partings in the hair using a sew.
- Sew the sock from above the eyes.
5. Bookmarks
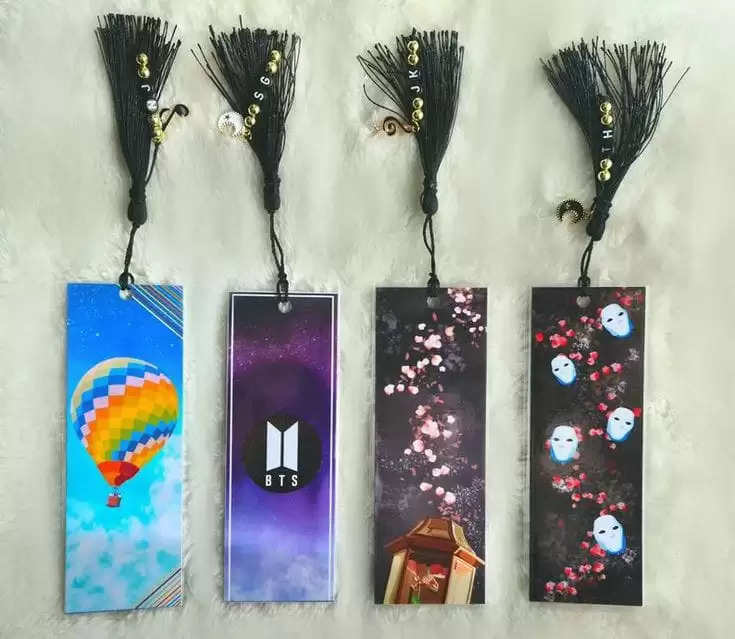
Items:
- Craft Sticks
- Watercolors
- Painting brushes
- Fevicol
- Pencil or Pen
Steps:
- Draw your favorite character you like.
- Use a brush to paint details on the character.
- Decorate the drawing.
- Leave it to dry for some hours.
6. Tin Can Lanterns
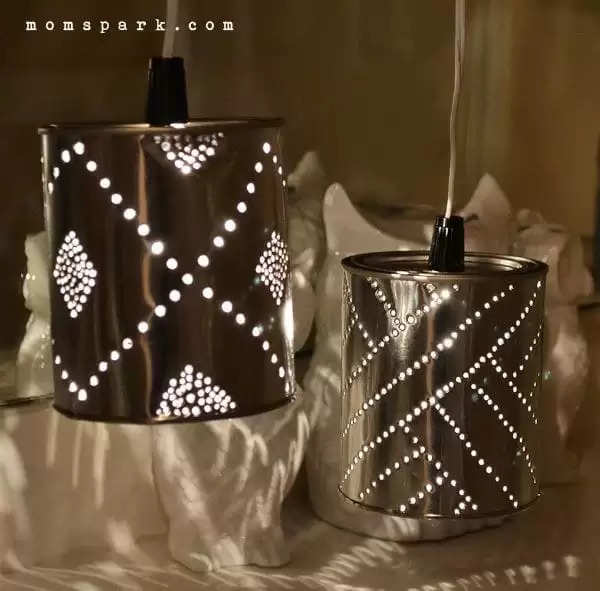
Items:
- Tin cans
- Hammers
- Wire
- Nail
- Pliers
- Tea light candle
- Spray paint
Steps:
- Clean the can from the inside.
- Fill the can with water and leave it in the freezer for a few days.
- Now make holes using a nail and hammer. You can even make a design before making holes.
- Take a 12-inch piece of wire and make a hook by curving it.
- Stick the handle.
- Let your kid paint cans in various colors. Coat the paint layers. Do not forget handels.
- Once the paint dries up, place tea candles inside and light them up.
7. Cork Photo Frame
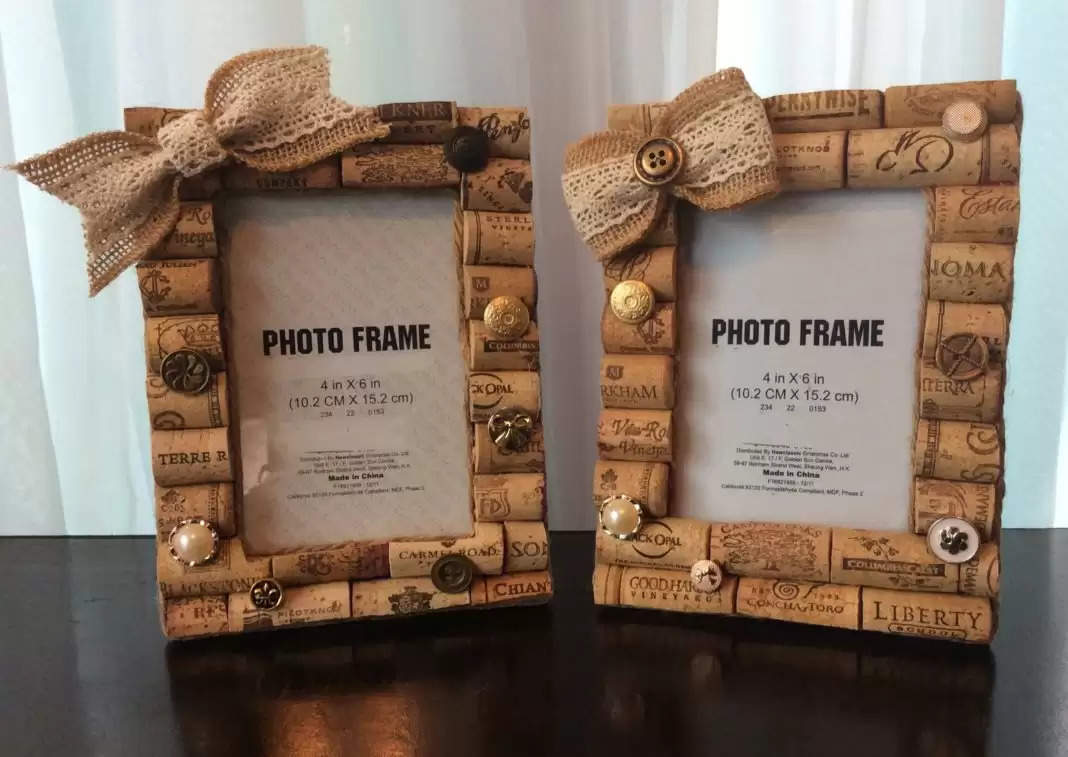
Items:
- Acrylic Paints in various colors.
- Paintbrushes
- Wooden frame
- 15-20 wine corks
- Fevicol
- Box cutter
Steps:
- Paint the frame in any color. Pian the frame in 2-3 coats. Let the frame dry for some time.
- Cut the corks into 1/4 inch pieces using a cutter.
- Pint the pieces in different colors. Let it dry.
- Stick the corks to the frame, starting from the corners.
8. Glittery CD Fish
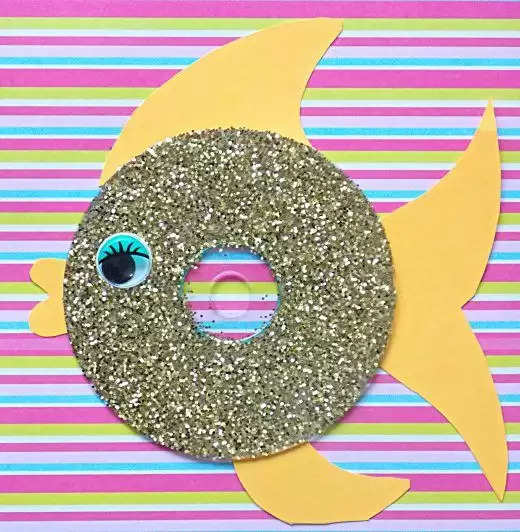
Items:
- A CD
- Glitter
- White adhesive/ Glue
- Any color card paper
- Tape
- Scissors
- Button
Steps:
- Apply Fevicol to the CD thoroughly, only leaving the center part empty.
- Spray glitter all over the CD. Let it dry.
- With the card paper, cut the mouth, fins, and tail of the fish and paste these on one side of the CD using tape.
- Attach the button to make it look like an eye to one side of the fish's face.
9. Spoon Vase
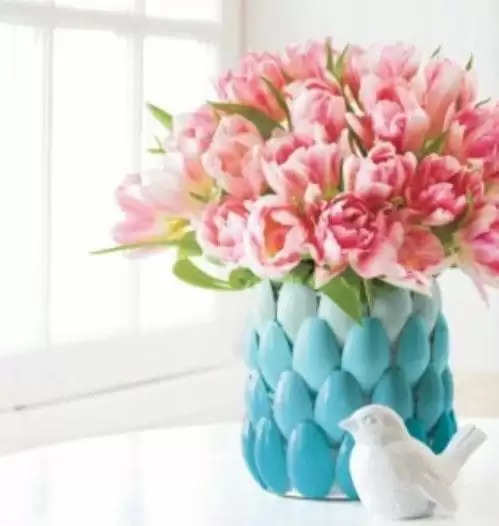
Items:
- One large can
- Paper plates
- Plastic spoons
- Scissors
- Glue
- Primer Paint
- Acrylic Paints
Steps:
- Use the white primer and paint the can.
- Cut the handles of the plastic spoons.
- Paint the spoon heads in any color you like. Make sure you paint sufficient spoons required to cover the can. Let them dry for some time.
- Paste the dried spoons into the can in layers.
- Your Spoon Vase is ready.
10. Convert Old Photo Frame into a Tray
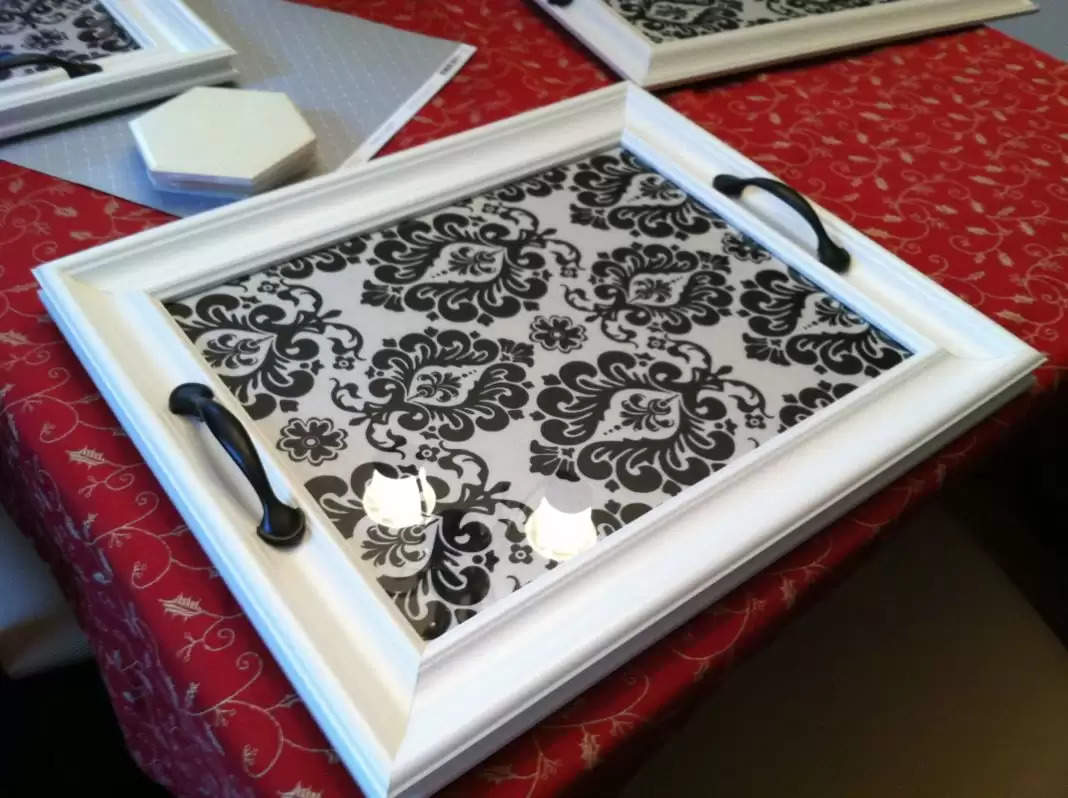
Items:
- Photo Frame
- Paints
- Plastic curve Handels
- Small Screws
Steps:
- Ask your kid to paint an old photo frame to make it look fresh.
- Let the frame dry for some time.
- Order a pair of handles to connect them to the sides.
- Your tray is ready.


